Overview
Sensor observations, tracks and response plans in one command console.
DomeCommand combines observations from your site's sensors into a shared picture and proposes responses. The operator reviews the evidence and controls which actions may run through the deployment's authority settings.
How it works
Sensor and aircraft data enters through protocol adapters. Fusion maintains the tracks; rules assess them, and the solver ranks response plans. Each proposed action is checked against the deployment ceiling and autonomy line before it can run. Results feed back into the picture for the next cycle.
Sensor fusion
A radar position and an RF bearing can describe the same object. Fusion associates the observations into one track and keeps the source and age of each measurement with it. A bearing alone does not locate the object; another measurement is needed to resolve its position.
The operator can inspect which sensors contributed to a track and how recently they reported. Read Sensor fusion for measurement types, association and confidence, and Sensors for supported sensor behaviour.
Plans and decisions
The solver uses the fused picture to rank candidate plans by predicted leakers, cost and coverage under the selected planning profile. Rules can further restrict the actions those plans propose.
The ceiling limits the action levels available in a deployment. The line determines which permitted actions can run without asking. Each action has one of three outcomes:
- RUNS: it is released and logged, with a stop window where configured.
- ASKS: it waits for the operator in the DECISIONS queue.
- NOT PERMITTED: it cannot run under the deployment's authority settings.
Read Decision support before changing the line. Policy and rules covers restrictions, and Solver configuration covers planning weights. Agentic C2 can read the picture and prepare drafts for review; it cannot change the line or commit actions.
How it works follows one contact through every stage of this loop.
Start with an exercise
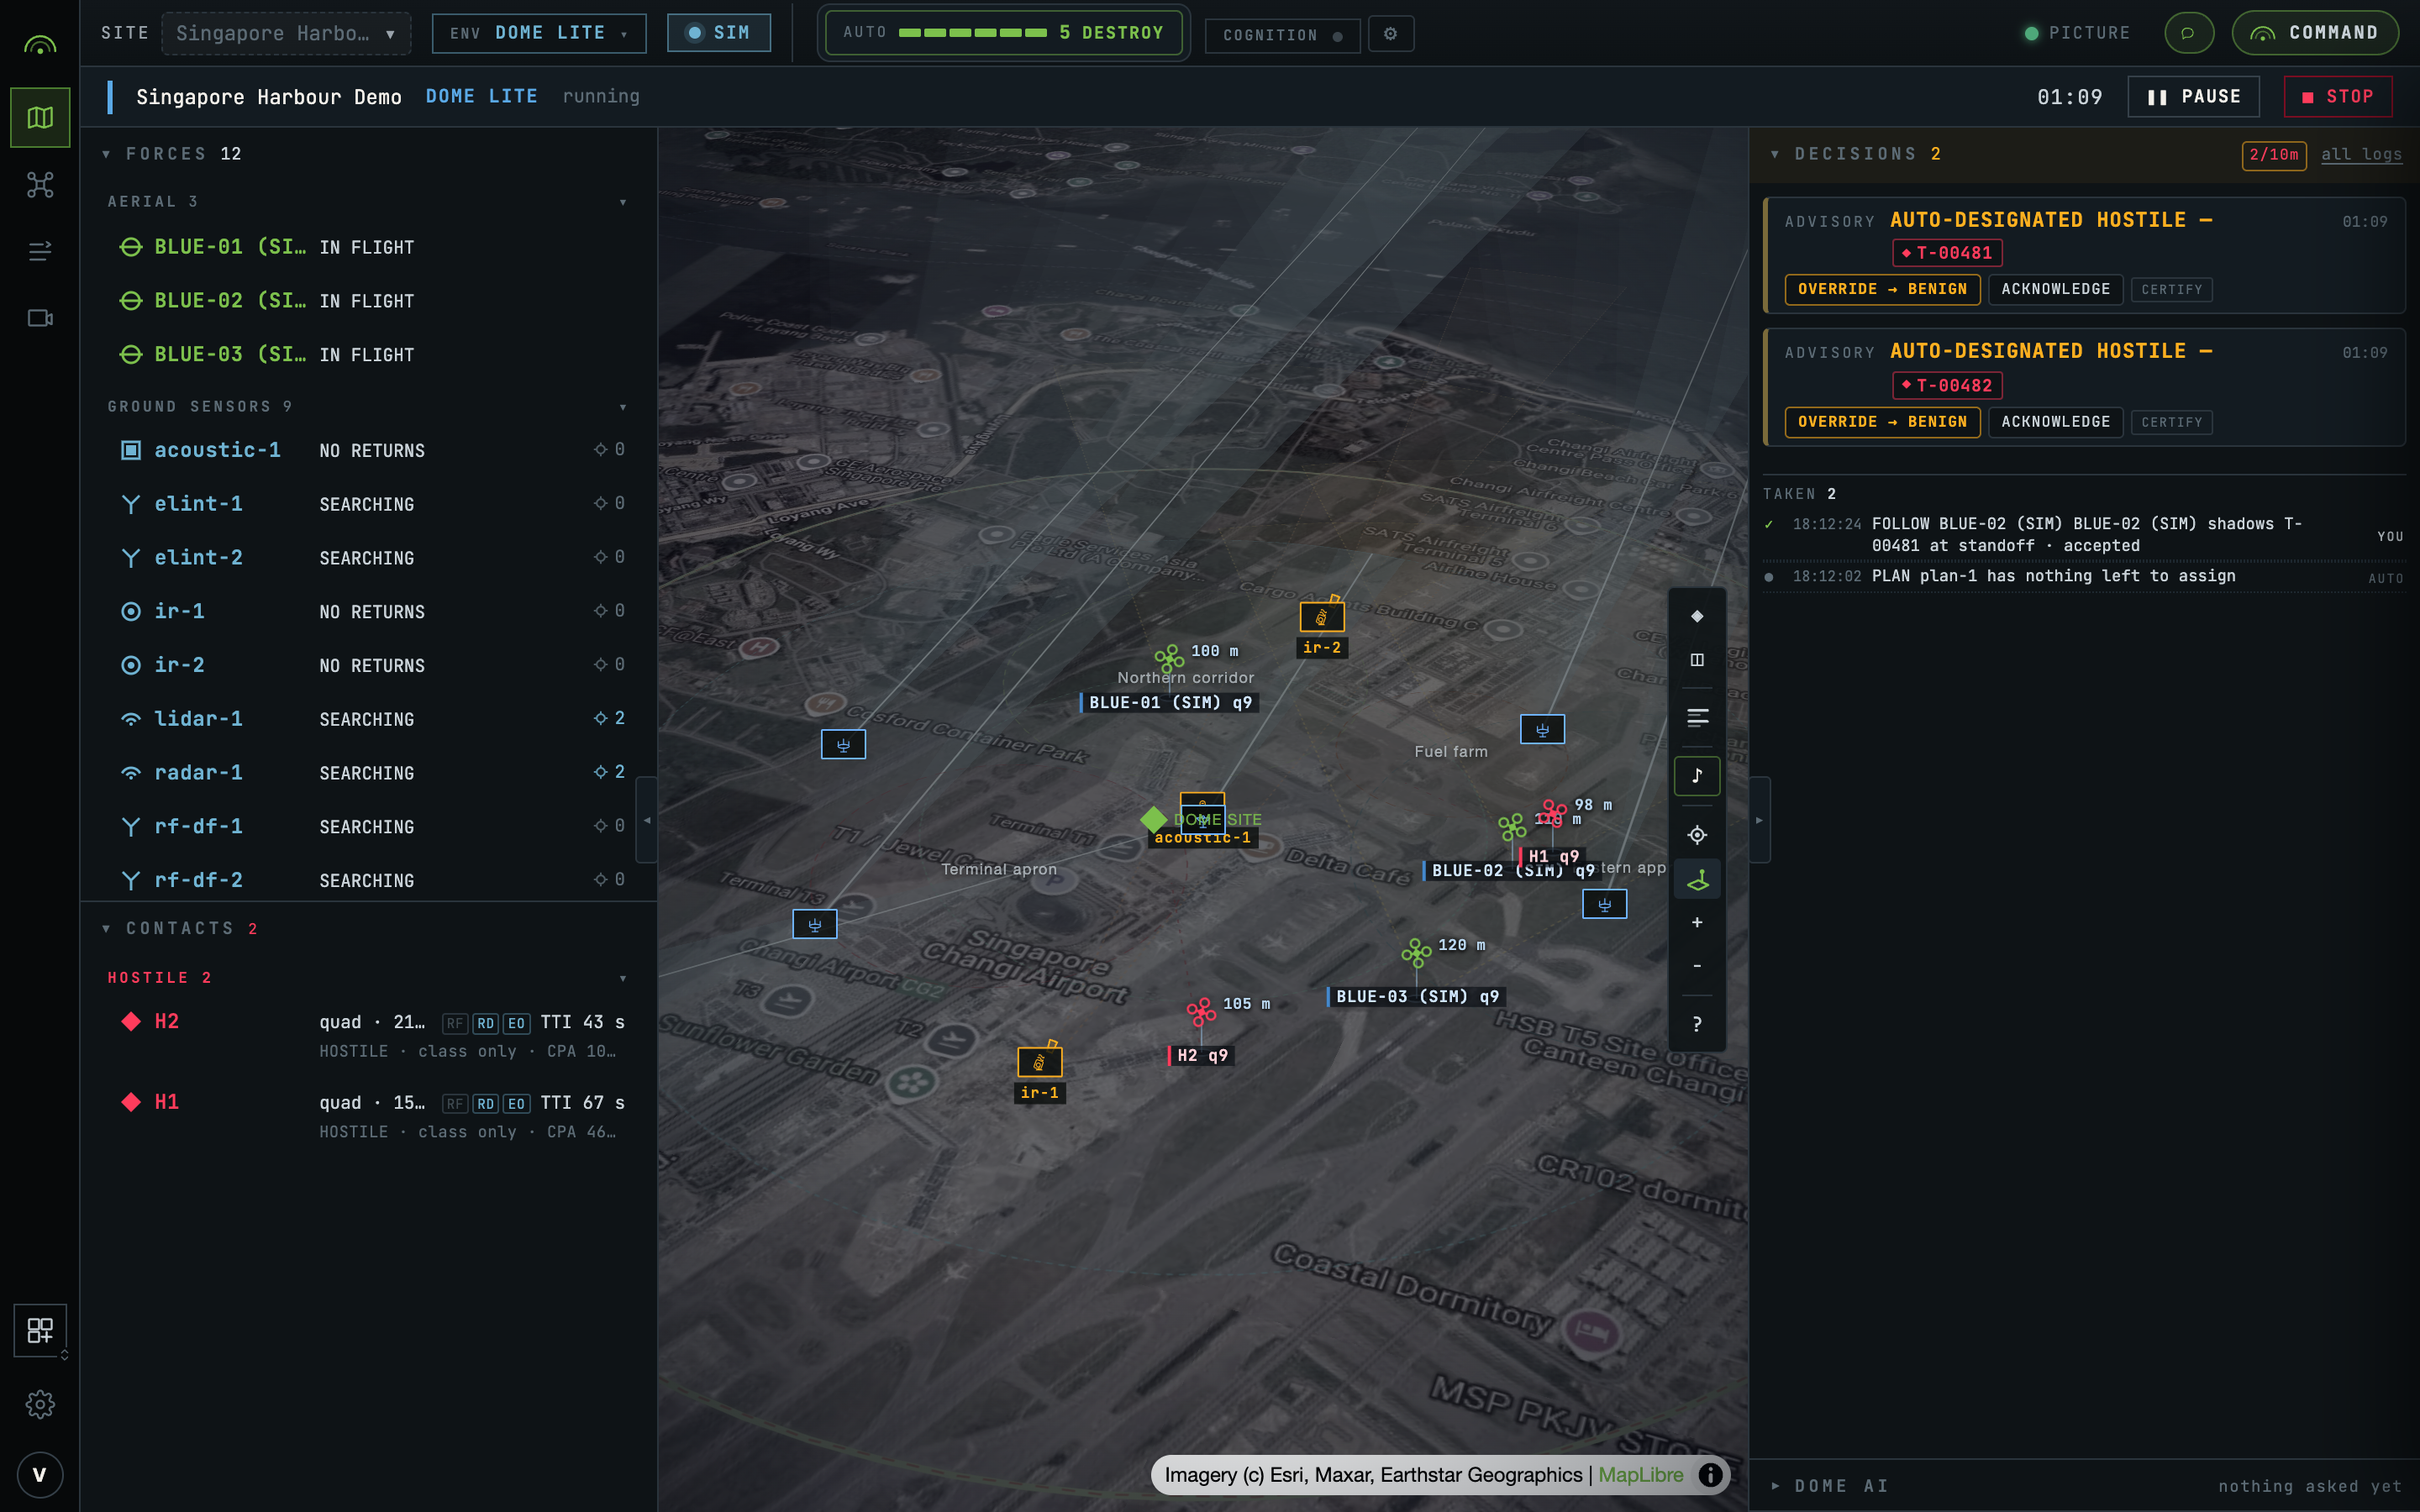
Use Dome Lite to explore the console without connecting hardware. Choose a scenario, load it, and the raid starts with the clock. Follow Simulation, then use Runs & replay to review the recorded picture.
Connect a site
- Create a site. Set its position, geofence and zones.
- Choose the environment. Live connections and simulated exercises use separate assets and runs.
- Add an asset. Select its product and connection, place fixed sensors and configure any credentials.
- Check the picture. Inspect a track's contributing sensors and evidence in Sensor fusion.
Getting started walks through one RF sensor. Integrations lists the supported connections and setup instructions. For an HTTP sensor bridge, use the Signals API.
Deployment and reference
| Task | Guide |
|---|---|
| Size an on-site server | Deployment |
| Place detection workloads | Recommended infrastructure |
| Compare measurement types | Sensors |
| Export rules and constants | Doctrine as a file |
| Export connections and assets | Asset manifests |
| Integrate another application | API reference |